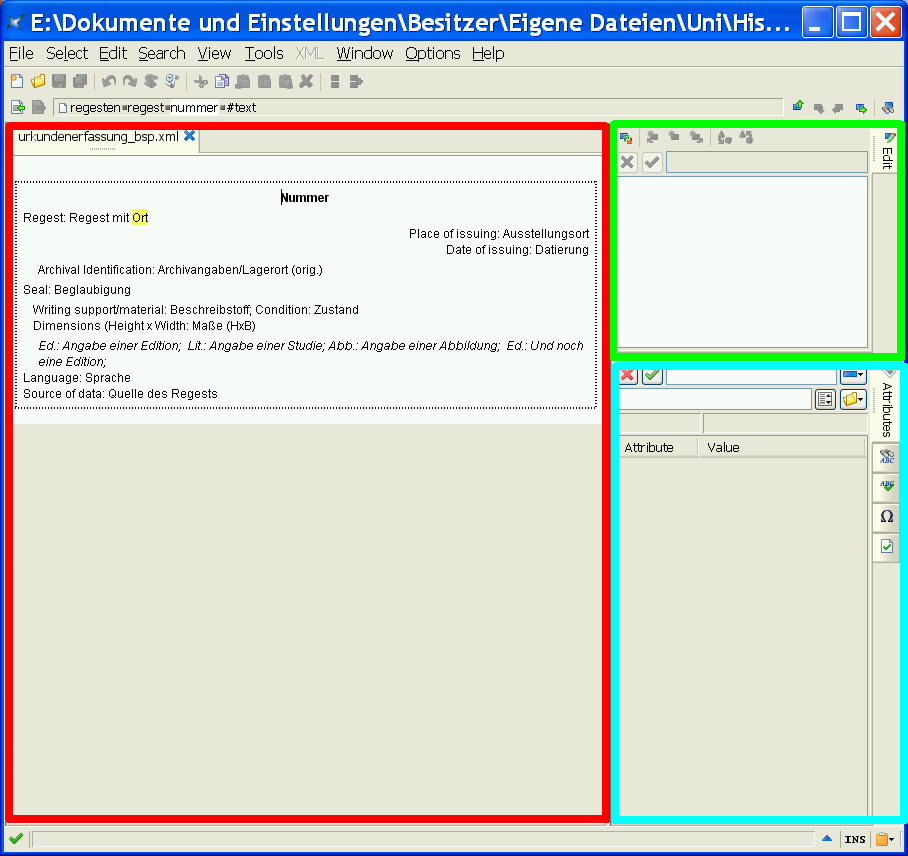
How to create a new record?
click on the dotted frame of the preceding record to select it:
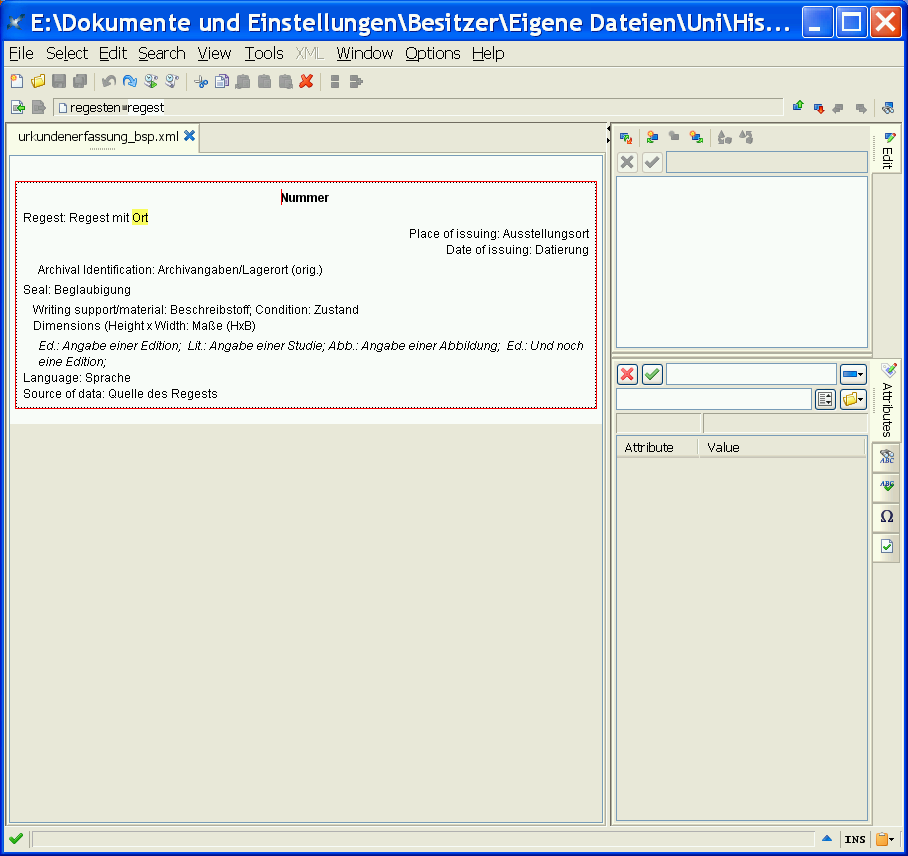
press Crtl-J (or Menue: Edit->insert after)
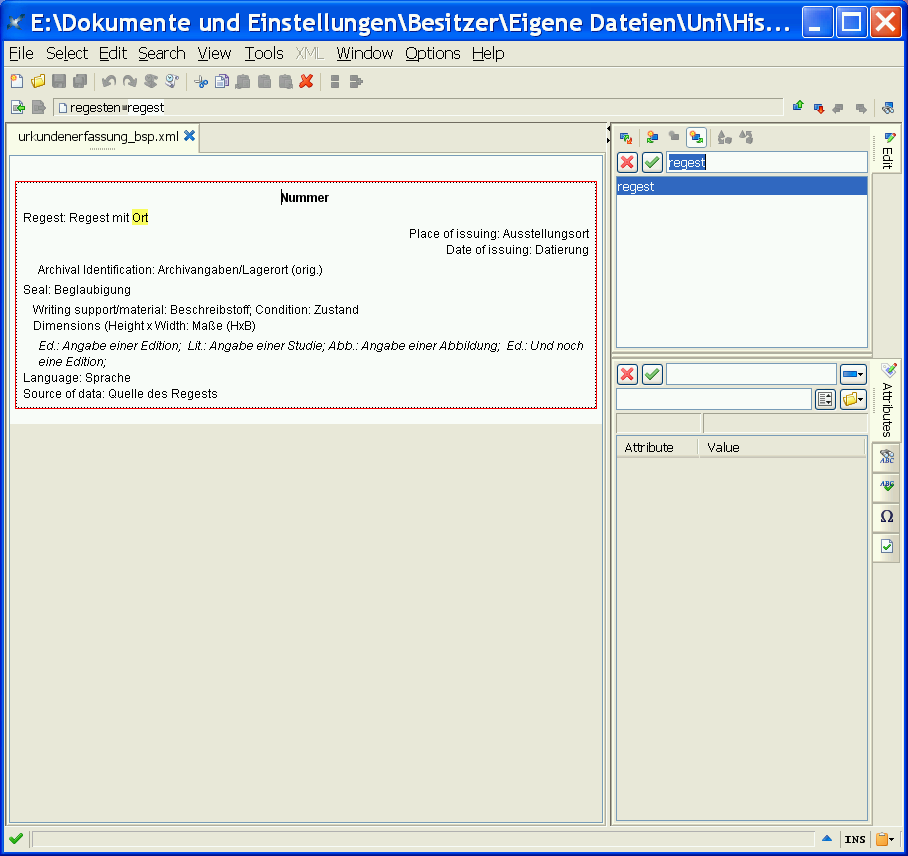
On the right in the upper part "Regest" is displayed and highlighted.
press Return:

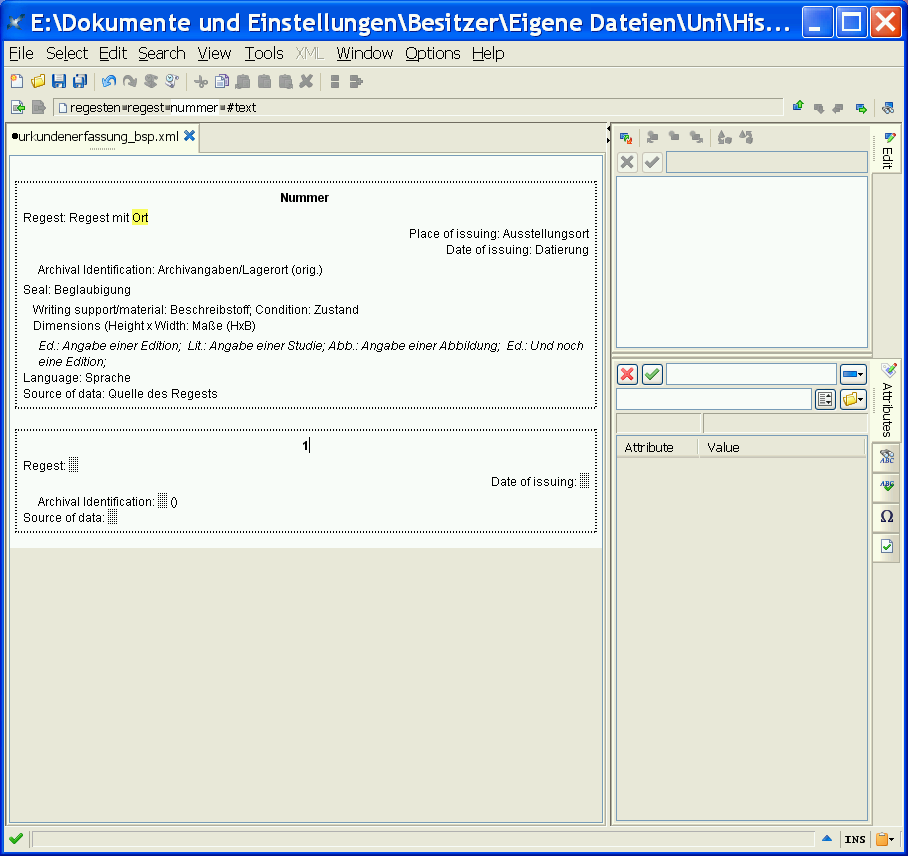
It appears a new dotted frame to insert the new record. The cursor is placed in the grey field in top of the frame, where you can enter the number of the charter.
Text of abstract:
Move the cursor in front of the grey field in the next line by clicking there or by pressing the "move-right" button on your keyboard.

and write your text. The grey field vanishes.
Top
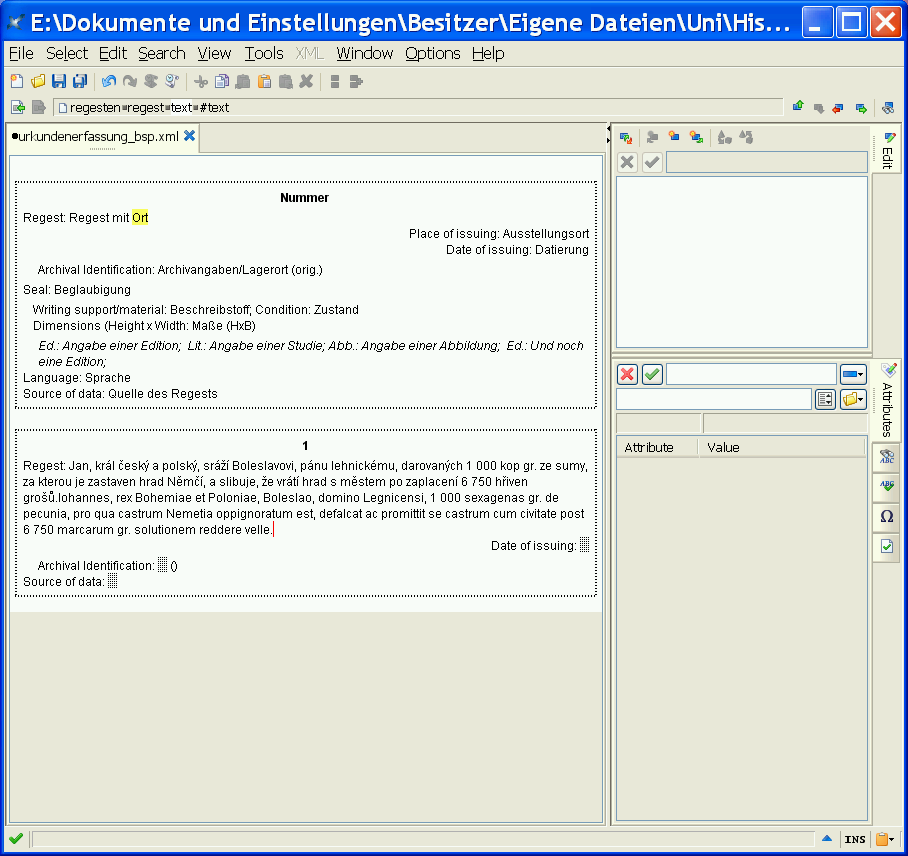
Add markup in the regest
Inside of the regest you can mark:
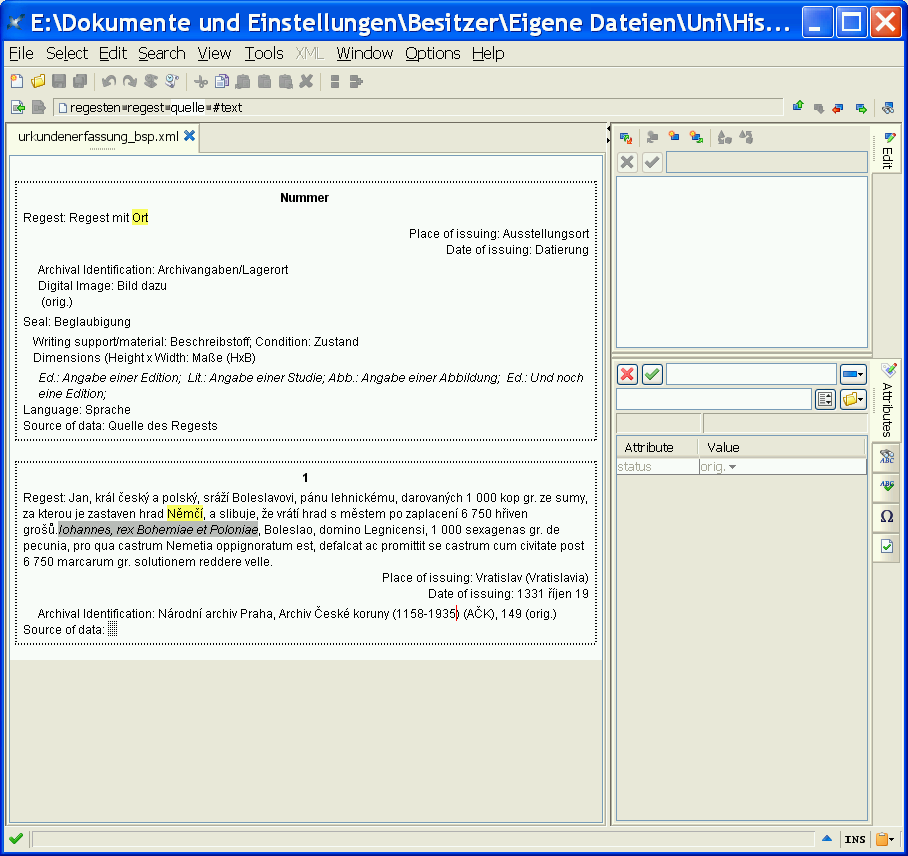
- Citations from the document/texts in the original language of the charter("original")
- Names of places to be part ("placeName") or any other kind of index ("index")
Mark the word
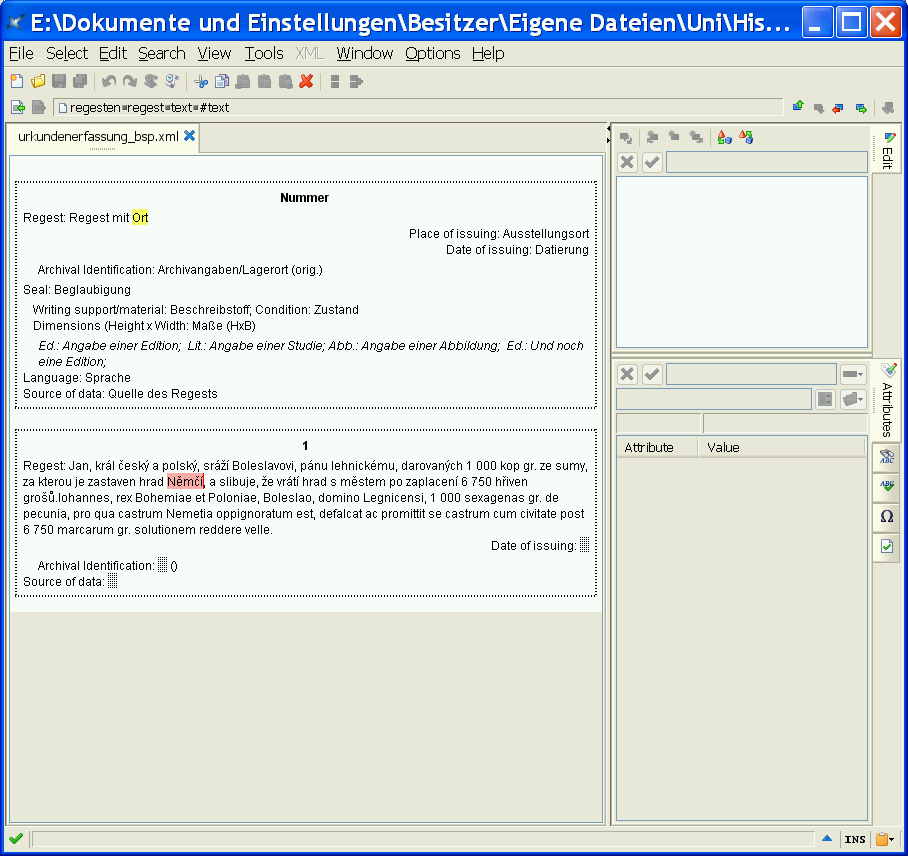
press Crtl-T and select in the upper part on the right side the appropriate element.
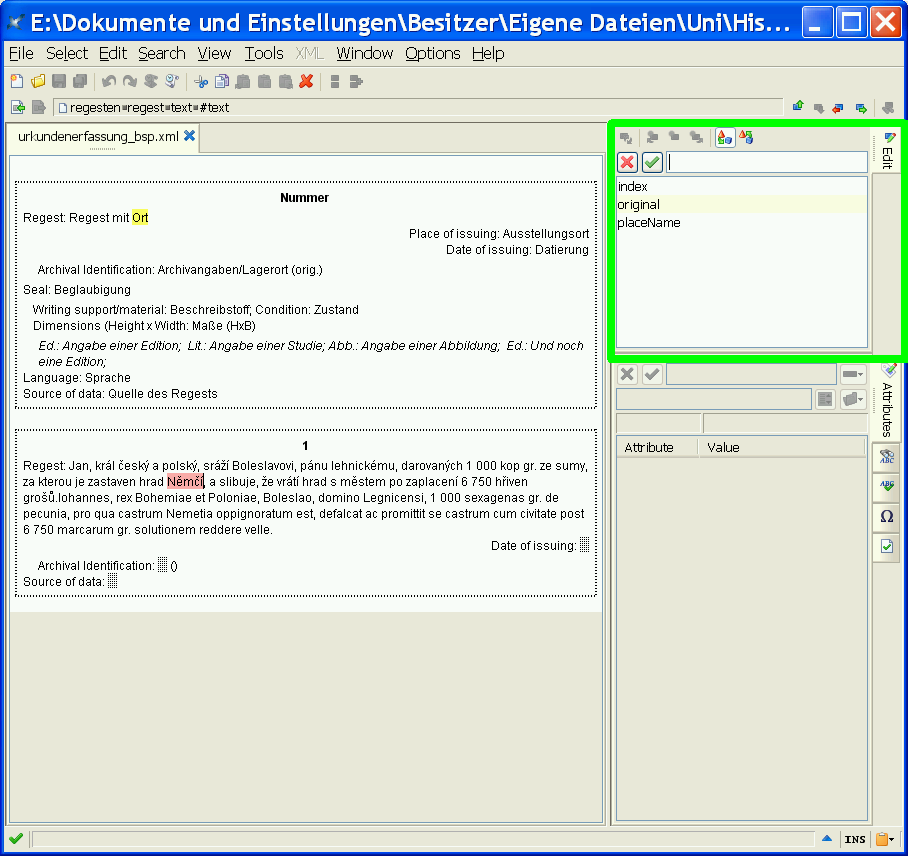
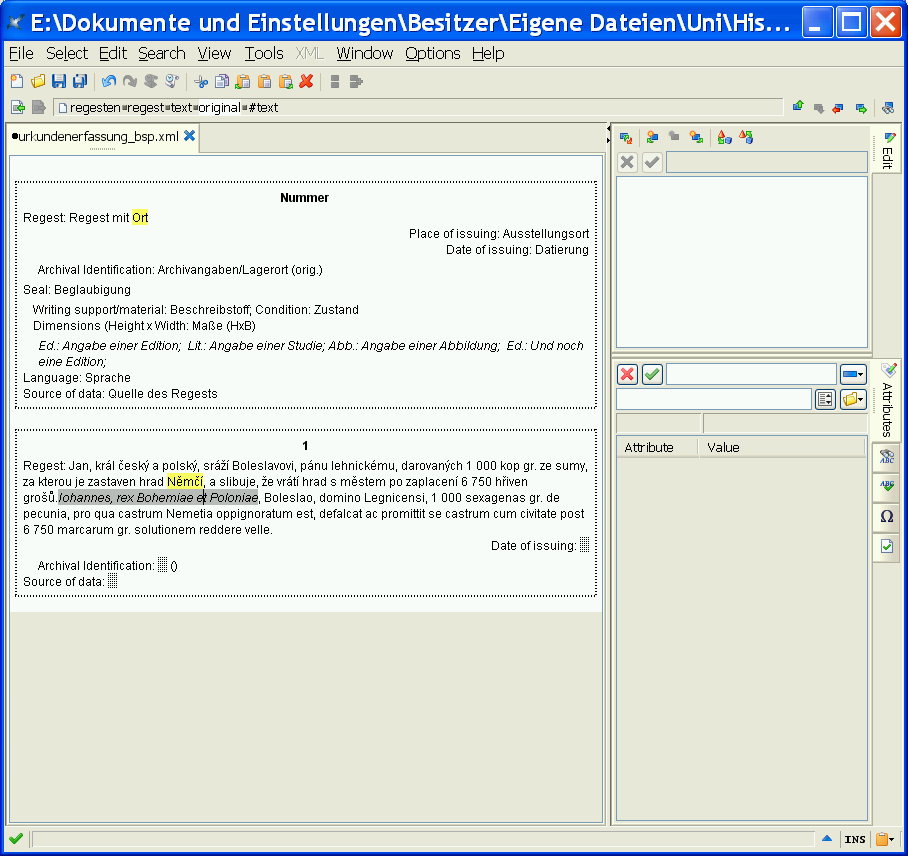
and press Return

Citations are displayed in italics with a grey background colour, place names and index entries with a yellow background colour.
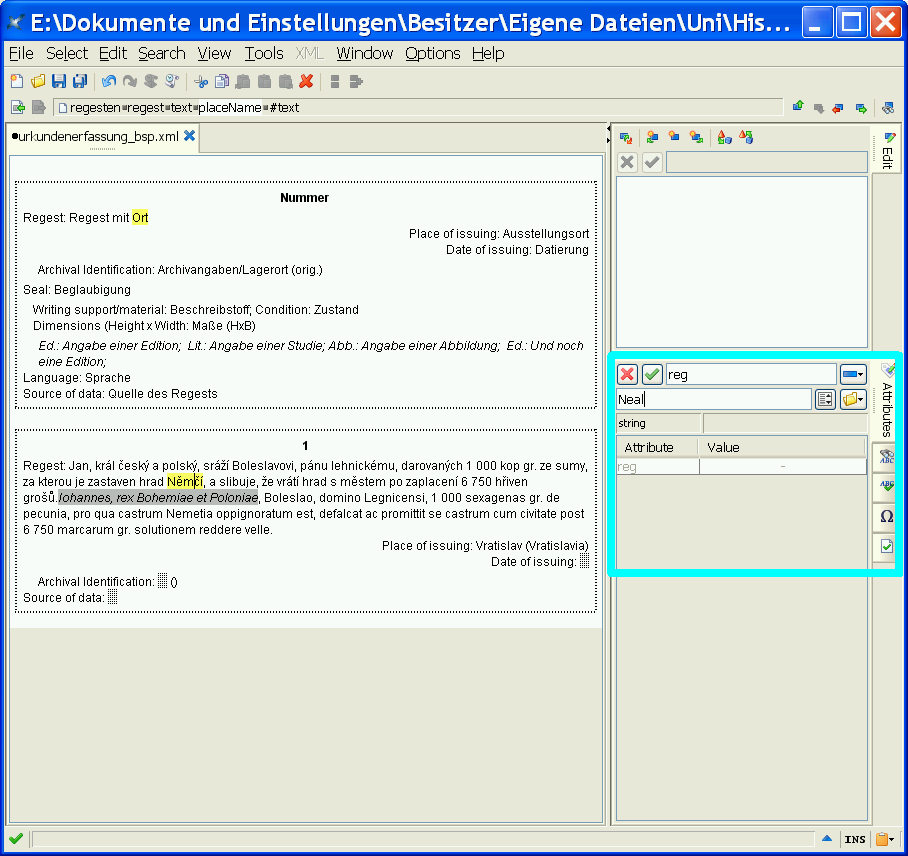
When marking a place name you can add a alternative version to be used in the index. Click in the passage marked as index and press Ctrl-e and enter "reg" into the upper field of the attribute area. After pressing Return you can enter the version to be displayed ("regularized version").
Date and place of issuing:
Place of issuing
If you want to state a place of issuing, put the cursor in the abstract and press Ctrl-J. The focus changes to the element area where "Ausstellungsort" is selected. Press Return.
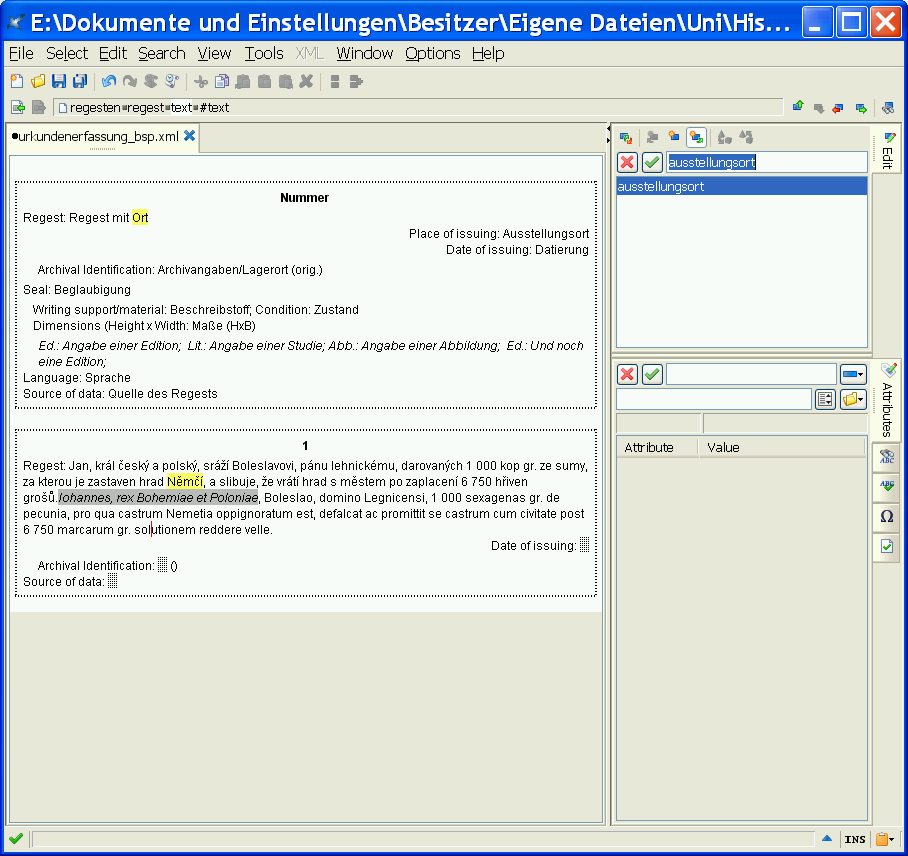
A new line on the right margin appears, starting with "Ausstellungsort:".
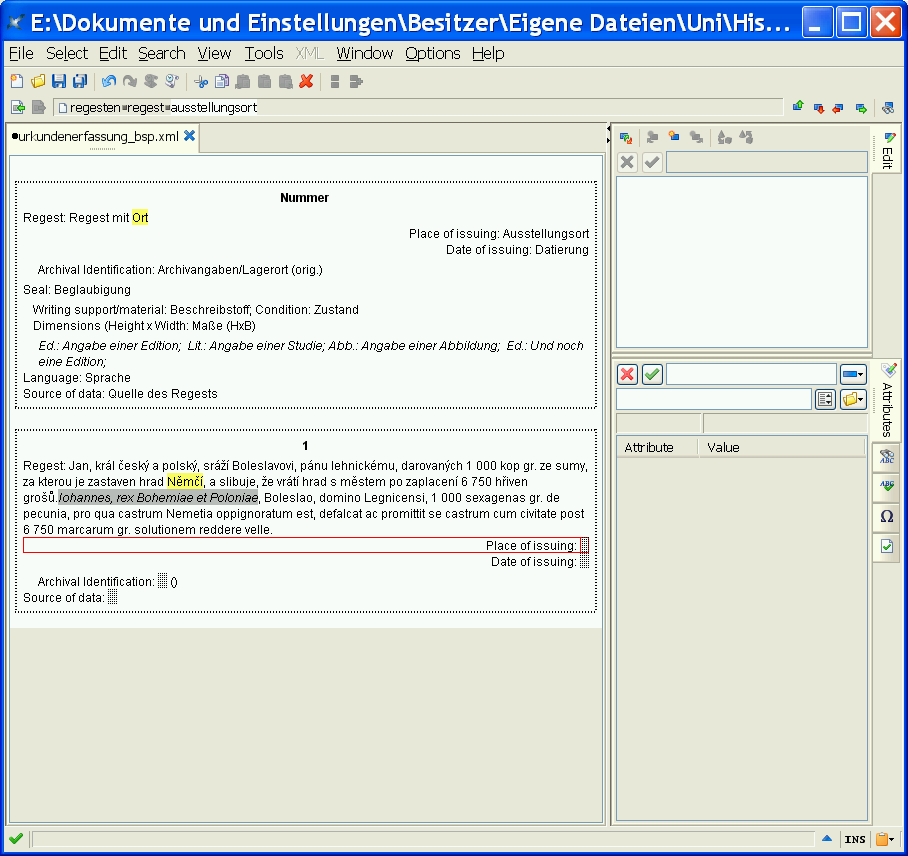
You add/mark a placeName as citation from the original as described above.
Date of issuing
Position the cursor in front of the grey area after "Ausstellungsdatum: " (with the mouse or by pressing the move-right-button on your keyboard twice. Then insert the date in your preferred format.

You can add a normalised version of the place to be displayed in the index by pressing CTRL-E and selecting "reg" in the attribute panel on the lower right side.
Top
Normalised version of the date
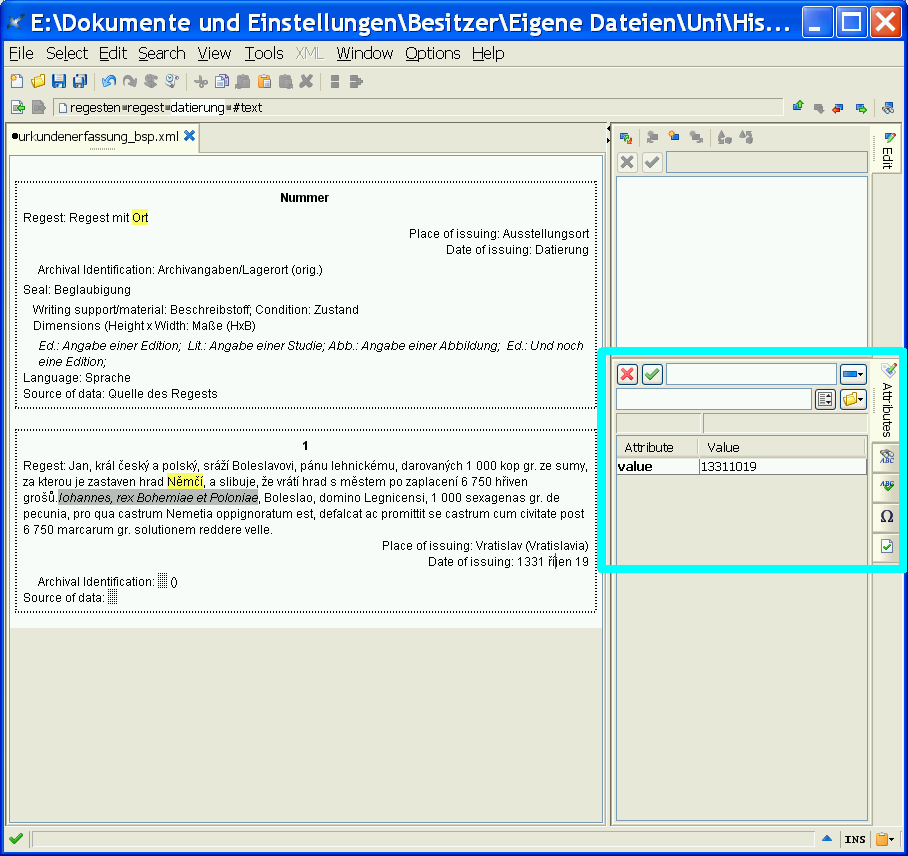
To add the normalised version (as numeric value): press Crtl-E. The cursor moves to the attribute area in the lower right side.

Replace the three question marks with a date in the format YYYYMMDD and press Return
Replace unkown parts of the date with 99: 1348 Mai => 13480599.
Other information (archival signature, description, bibliography etc.)
Any other data can be entered in the same way: Press Ctrl-J to created the element (if not already visible), select the element in the upper right field, click on the grey field appearing and enter your data. The following elements are possible:
- Archival identification
- Authentication/Seal
- Writing support/Material
- Dimensions
- Bibliography
- Language of the charter
Archival identification
Click on the grey field after the caption "Archival Identification" and enter your data
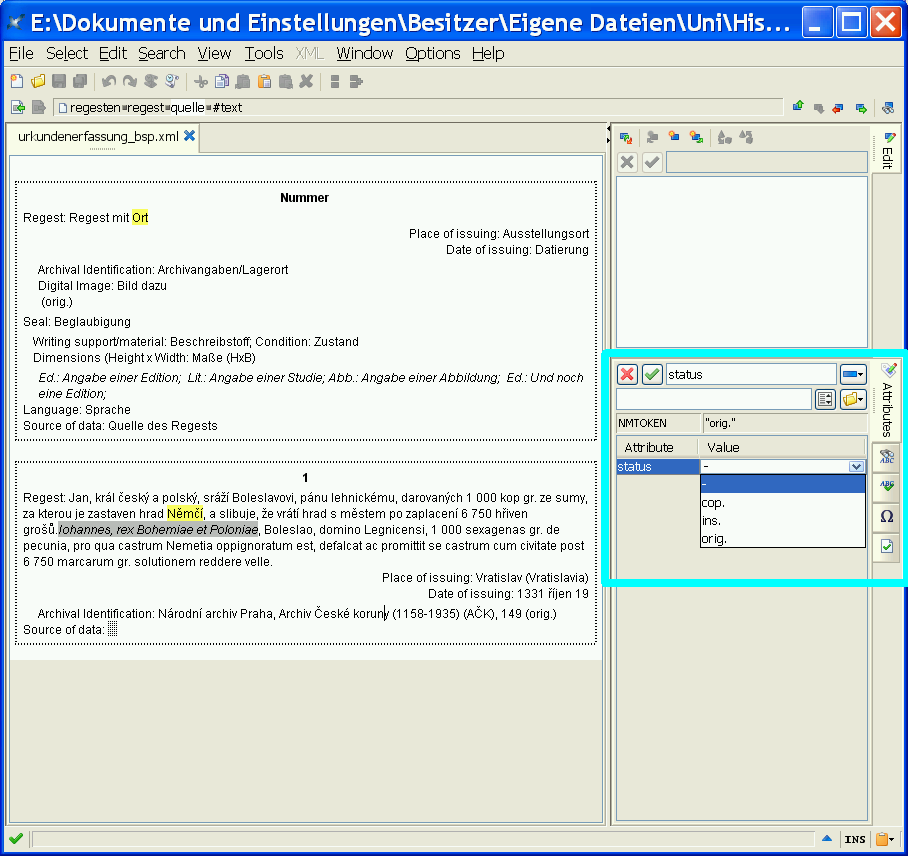
To change the form of transmission from the default value "orig.", to "ins." (for inserted charters") or "cop." (for any other kind of copy) place the cursor in the archival identification, press Ctrl.-E. and select the value from the list behing "status".
Authentication
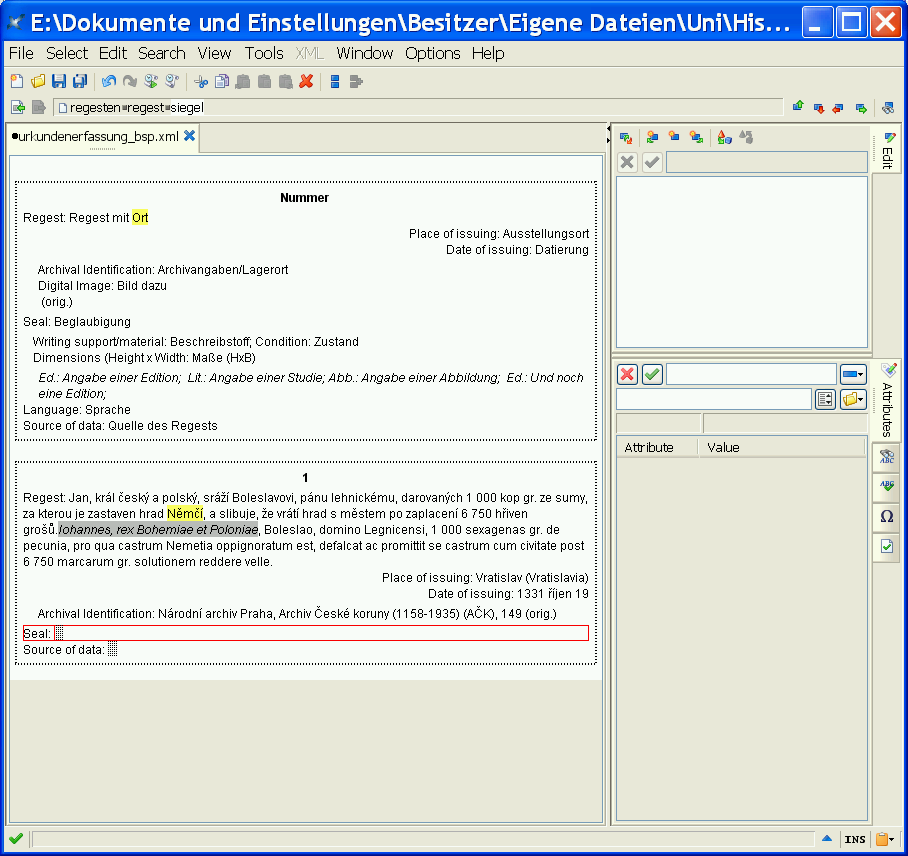
Position the cursor in the archival Identification, press Ctrl-J, select "siegel" and enter your data at the grey field after the word "Seal".
You can add more than one seal description.
Transcription of the legend
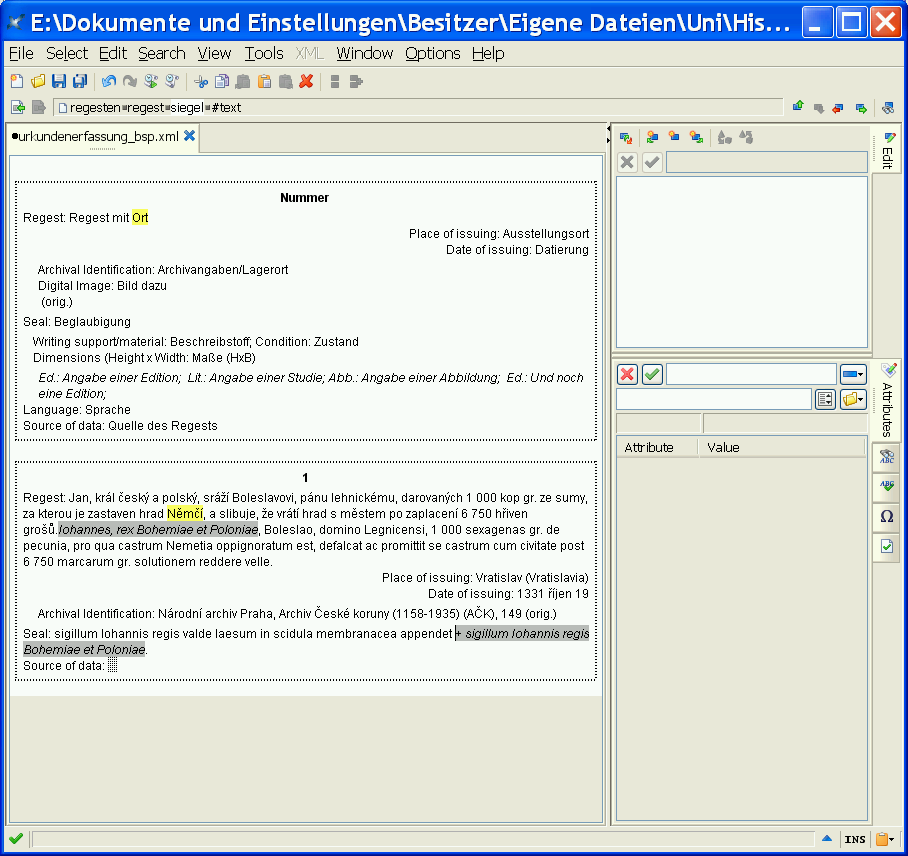
Inside the "seal"-area press Ctrl-I at the place where you want to enter the transcription, select "legend" and enter the transcription at the grey field.
The text of the transcription will be displayed in italics and with a grey background.
To continue with the seal description after having added a legen, in particular to add more than one legend (e.g. recto/verso), press Ctrl-J when the cursor is in the previous legend text, select "(text)" to switch to the text modus. With Ctrl-I you can add a second legend.
Bibliography
Place the cursor in the element preceding the bibliography (e.g. the Archival identification), press Ctrl-J, select "Literatur" in the upper right panel.
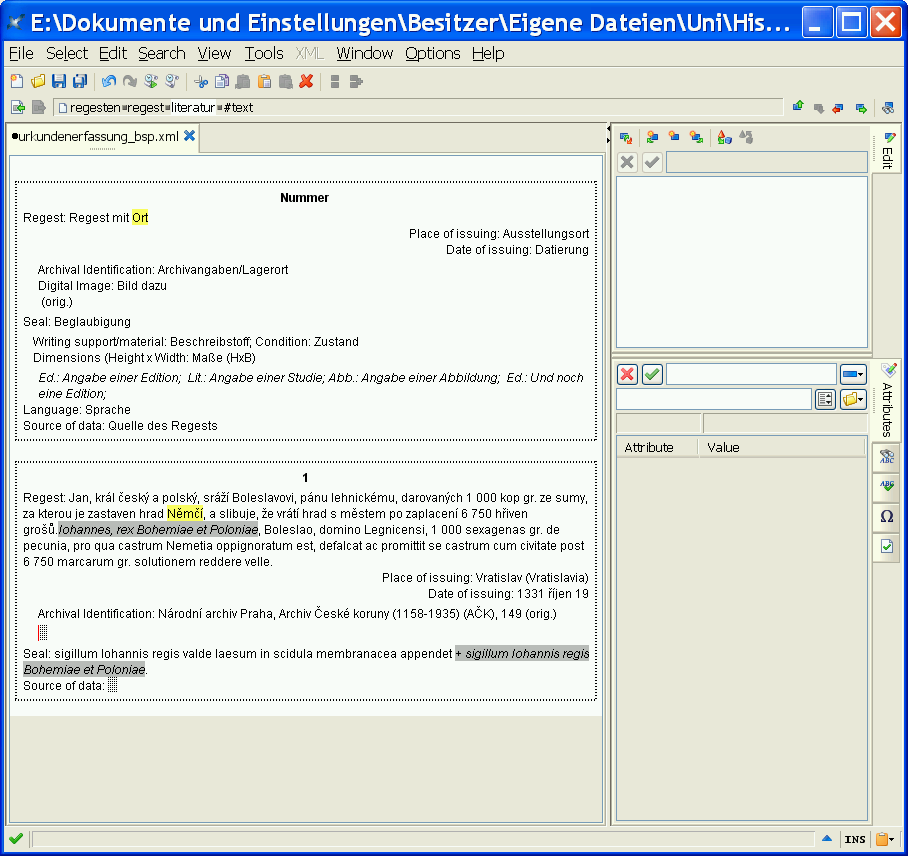
In the grey field appearing press Ctrl-I for each bibliographic entry, select "bibl" in the upper right panel.

It will appear a grey field between a colon (:) and a semicolon (;).
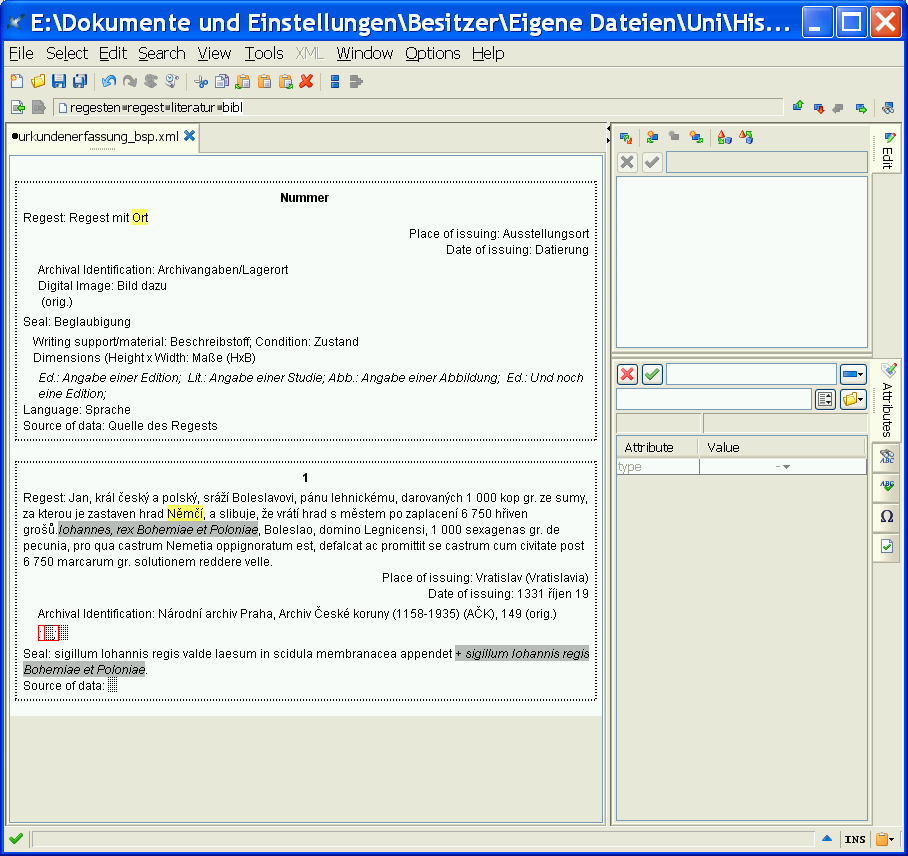
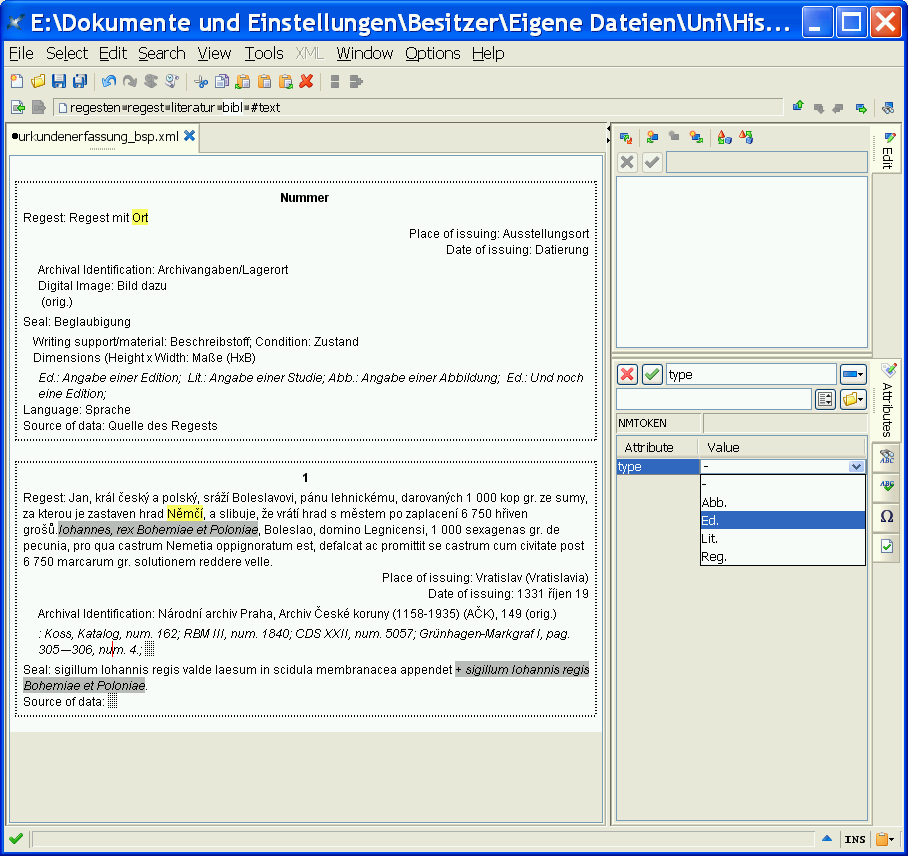
Enter your data at this grey field

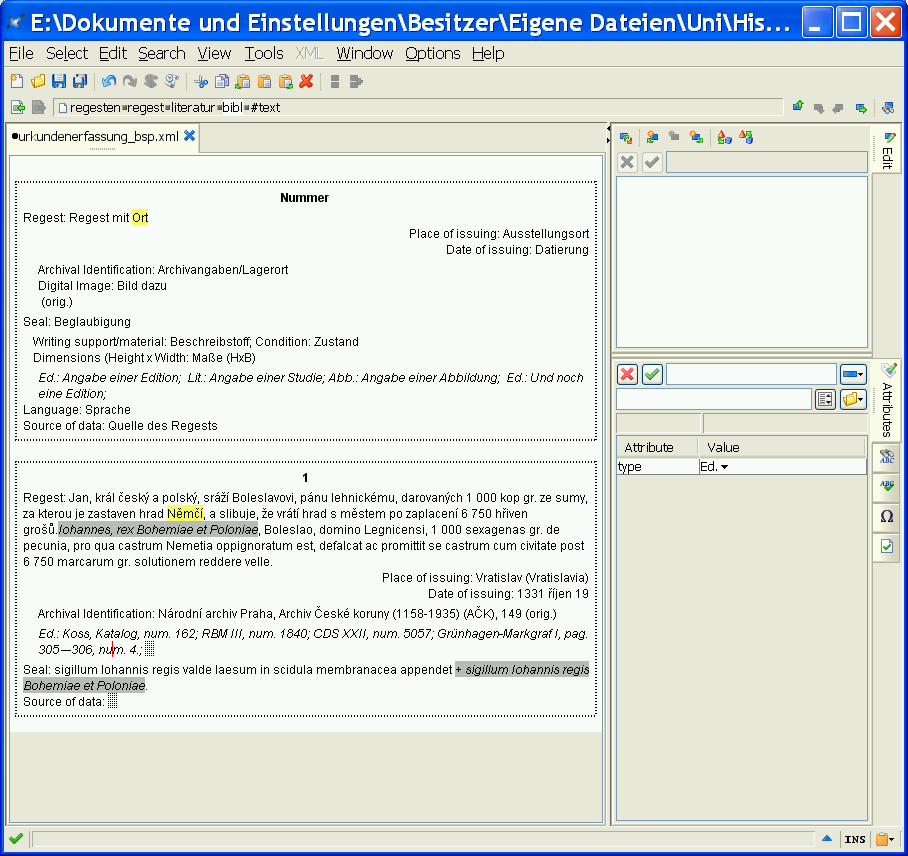
and classify the entry as edition ("ed."), image ("Abb."), regest ("reg.") or study ("Lit.") by pressing Ctrl-E and selecting the appropriate type in the lower right panel
The type will appear in front of the bibliographic entry:
Add other bibliographic entries
You can add other bibliographic entries by placing the cursor in the bibliographic entry the shall precede the new entry, press Ctrl-J, select "bibl" and enter your data in the grey field between the colon and the semicolon
Classify each entry by pressing Ctrl-E and selecting the type in the lower right panel.
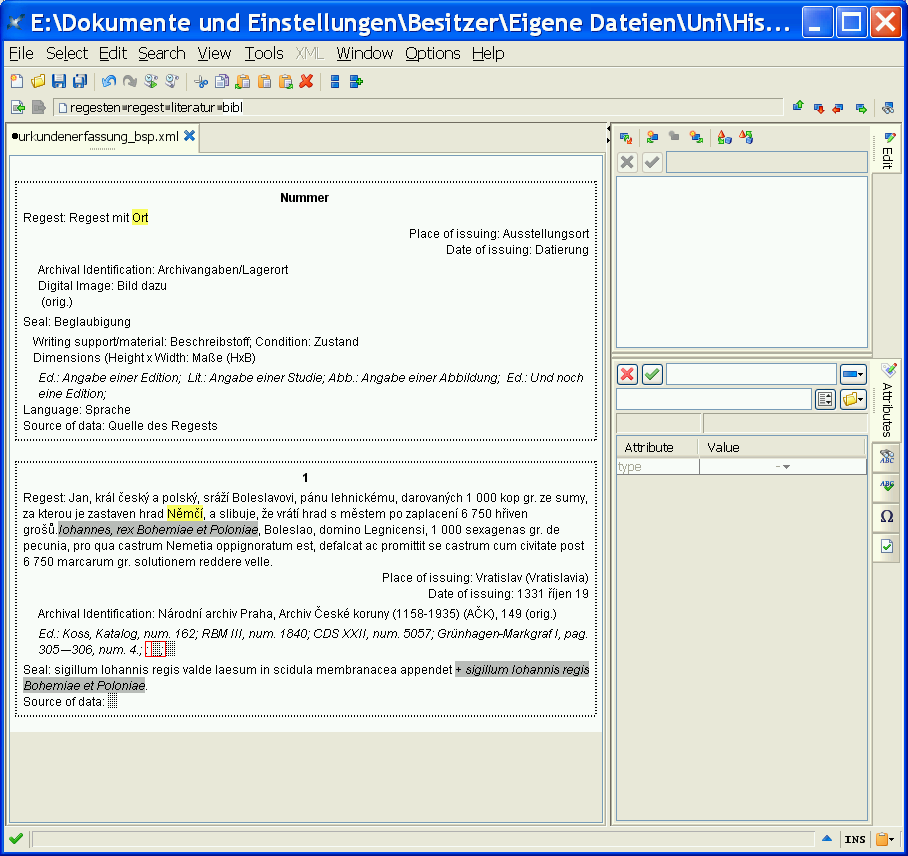
Physical description of the charter
If you want to enter physical description as the material, the condition and the measure of the charter, place the cursor in the element preceding the physical description (e.g. the archival identification), press Ctrl-J, select "physicalDesc". It appears a new line starting with "Writing support/material":
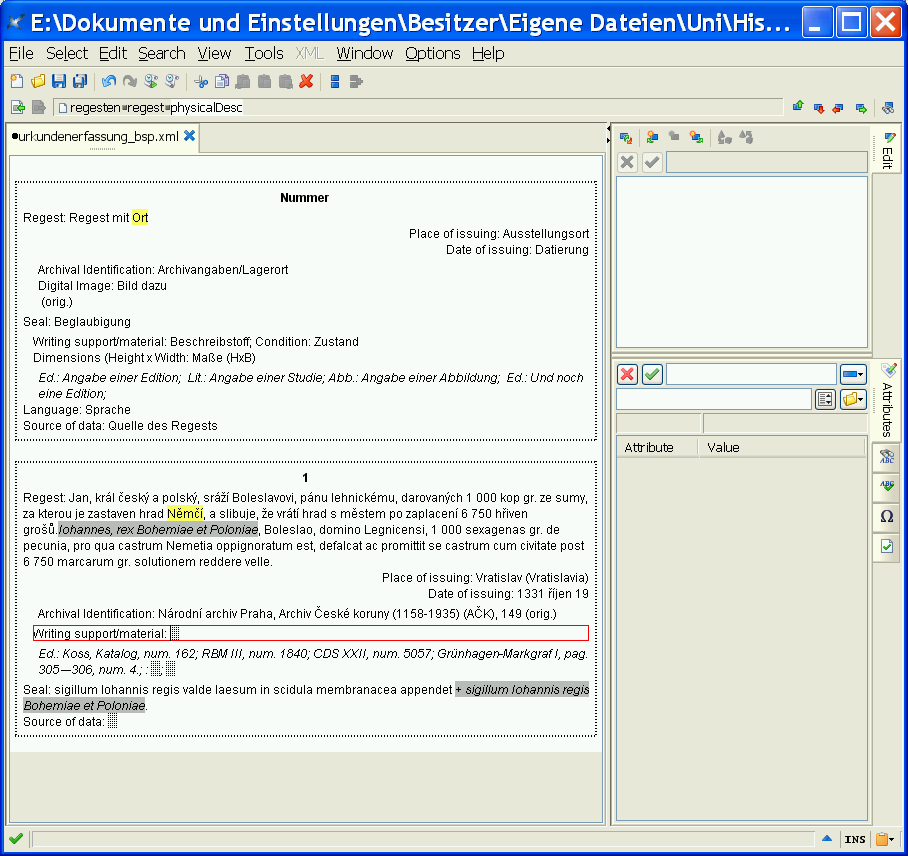
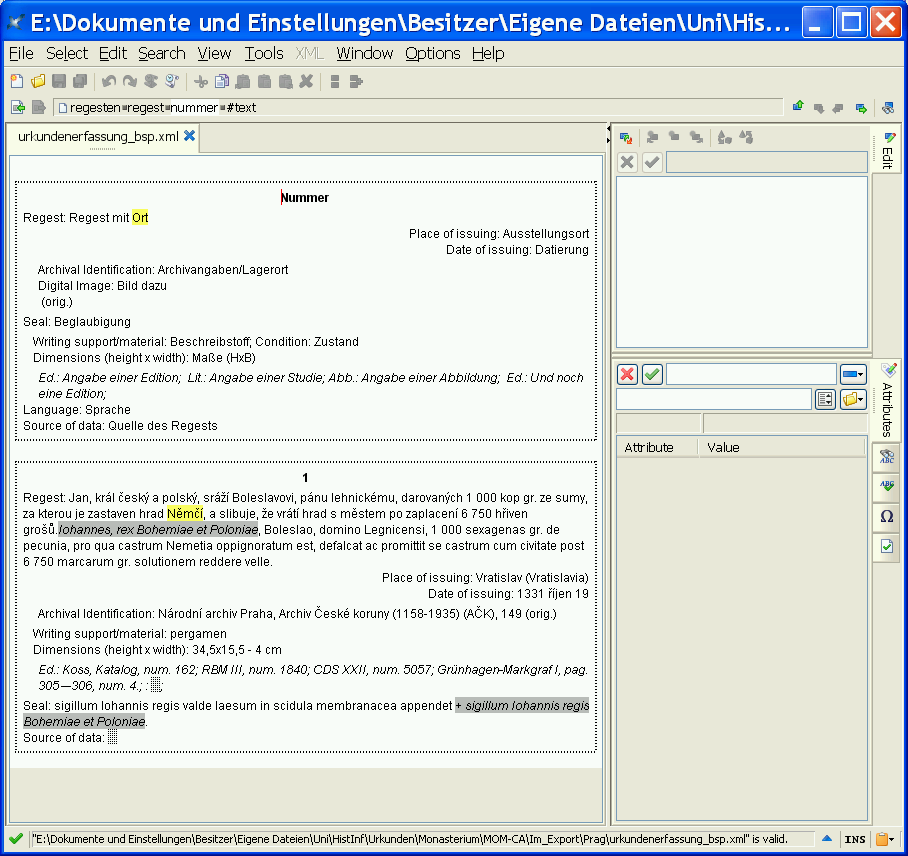
Click on the grey field and enter the data for the material.

To add other physical descriptions (condition or measures), press Ctrl-J, select in the element panel (upper right area) the appropriate element, press enter, and enter the data at the grey field:
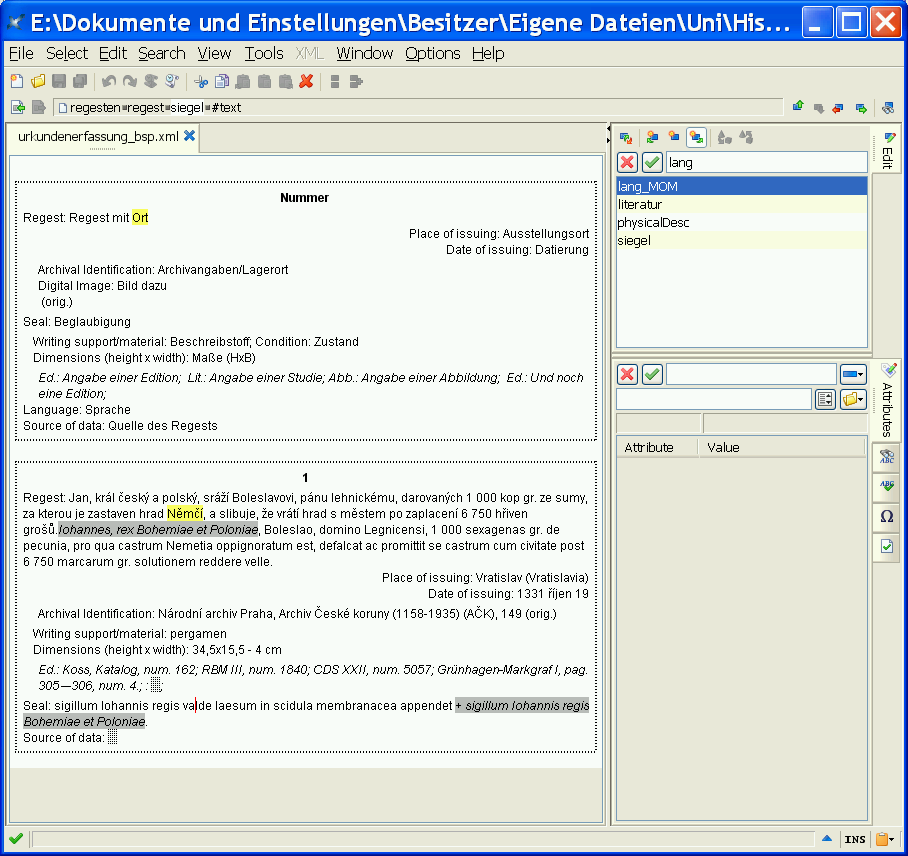
Language of charter
Place the cursor in the element preceding the language (e.g. Archival information or Seal), press Ctrl-J, select lang_MOM and press Enter
Enter your data at the grey field following "Language:"
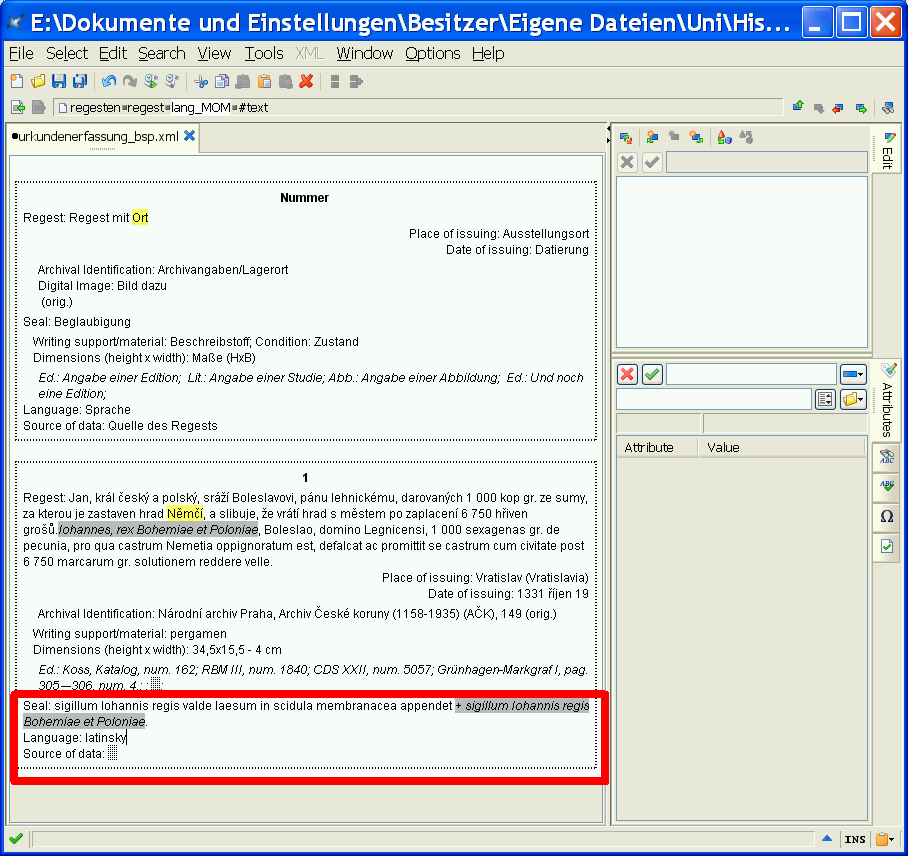
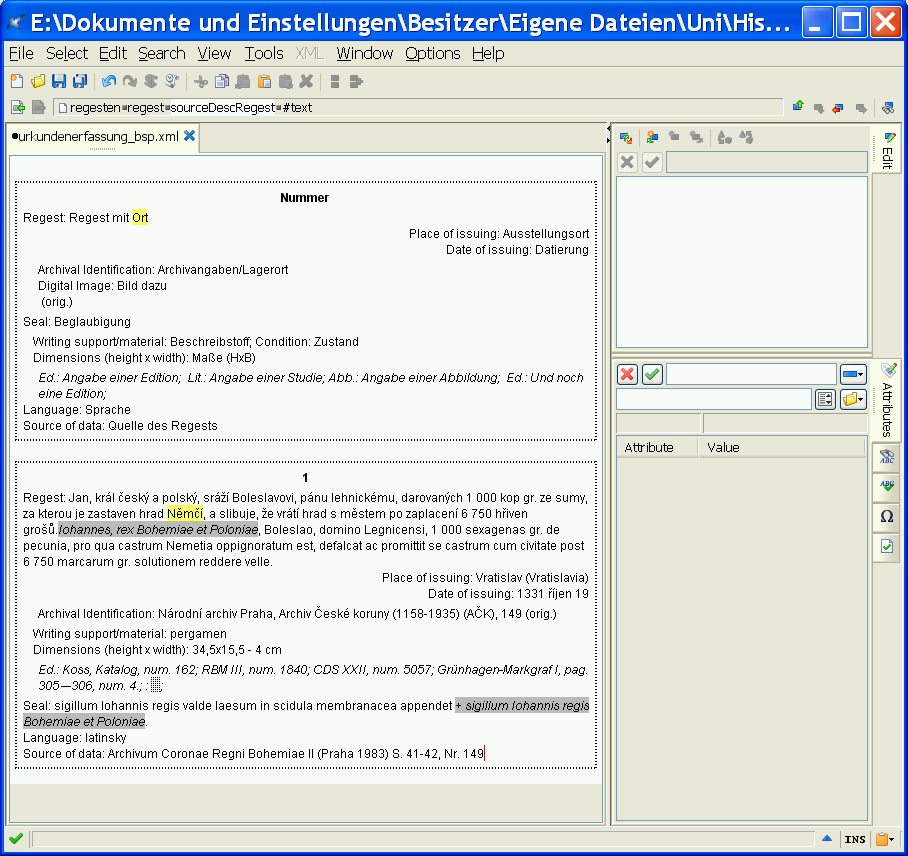
Enter the source of the data
Place the cursor in the grey field following "Source of Data:" and enter your data.
Introduction etc.
You can add an introduction to your file by selecting the first entry, pressing Ctrl-H, selecting "einleitung" in the element panel on the upper right and entering your date at the grey field.
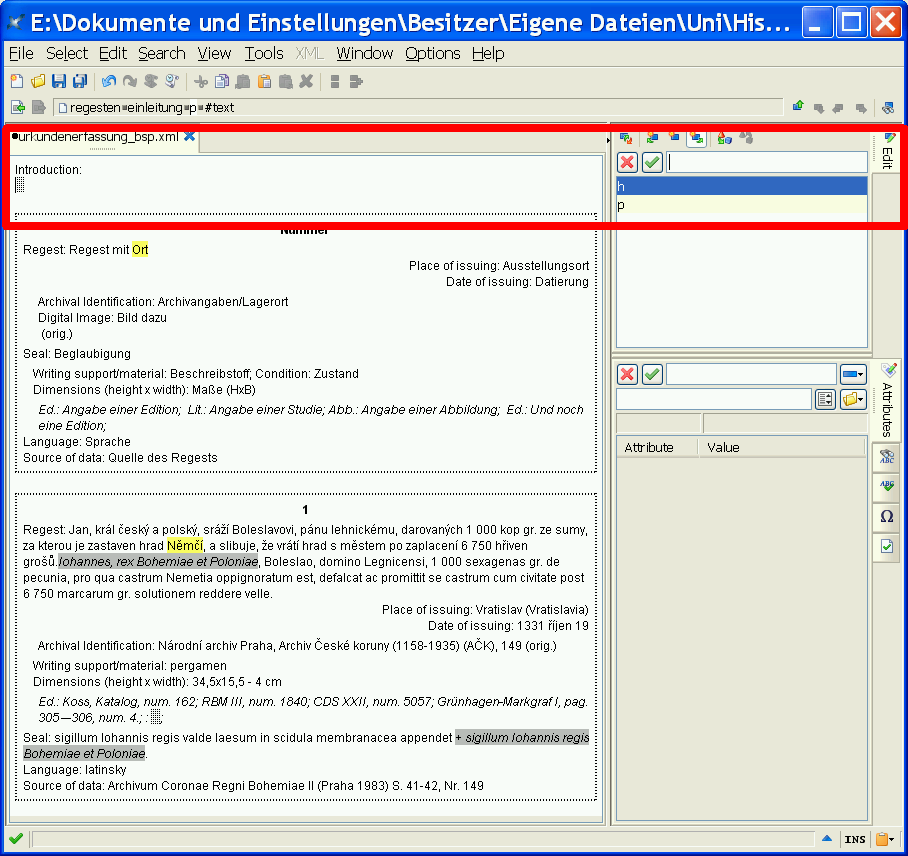
Inside the introduction you can add headings and paragraphs. To add the first click on the word "introduction" or putting the cursor in the grey field and then press Ctrl-J and select the element "h" for headings or "p" for paragraphs in the element panel on the upper right.